Vivarium
How to create your bioactive Vivarium
get the nature inside your Home
Step-by-Step Guide: How to Set Up a Planted Bioactive Vivarium
Are you looking to create a lush, natural environment for your pet insects, amphibians, or even reptiles? A bioactive vivarium is not just a habitat; it’s a mostly self-sustaining ecosystem that mimics the animal’s natural environment. By adding live plants, beneficial microorganisms, and a cleanup crew, you can create a beautiful, low-maintenance enclosure that benefits both your pet and your mood.
In this guide, we will walk you through the process of setting up your own planted bioactive vivarium, from selecting the right plants, soil and equipment to introducing the animals. Let’s dive in!
What do you aim for?
When you want to create a Vivarium the first step is always collecting ideas and doing research.
You should ask yourself following questions first:
What plants do I want to use?
- This narrows down most other questions as certain plants need a certain size of Vivarium, type of soil, humidity, temperature or even different light. Also there might be plants that some of your further inhabitants like or dislike. Try to pick plants from the same region or at least similar climate so they all do well in your tiny ecosystem.
What animals do I want to introduce?
- This helps you pick the right climate and doing research about them also narrows down your plant selection further. Also it tells you if you need to or can introduce further species as food source, “clean up crew” or co-inhabitants.
Step 1: Choose the Right Vivarium and Equipment
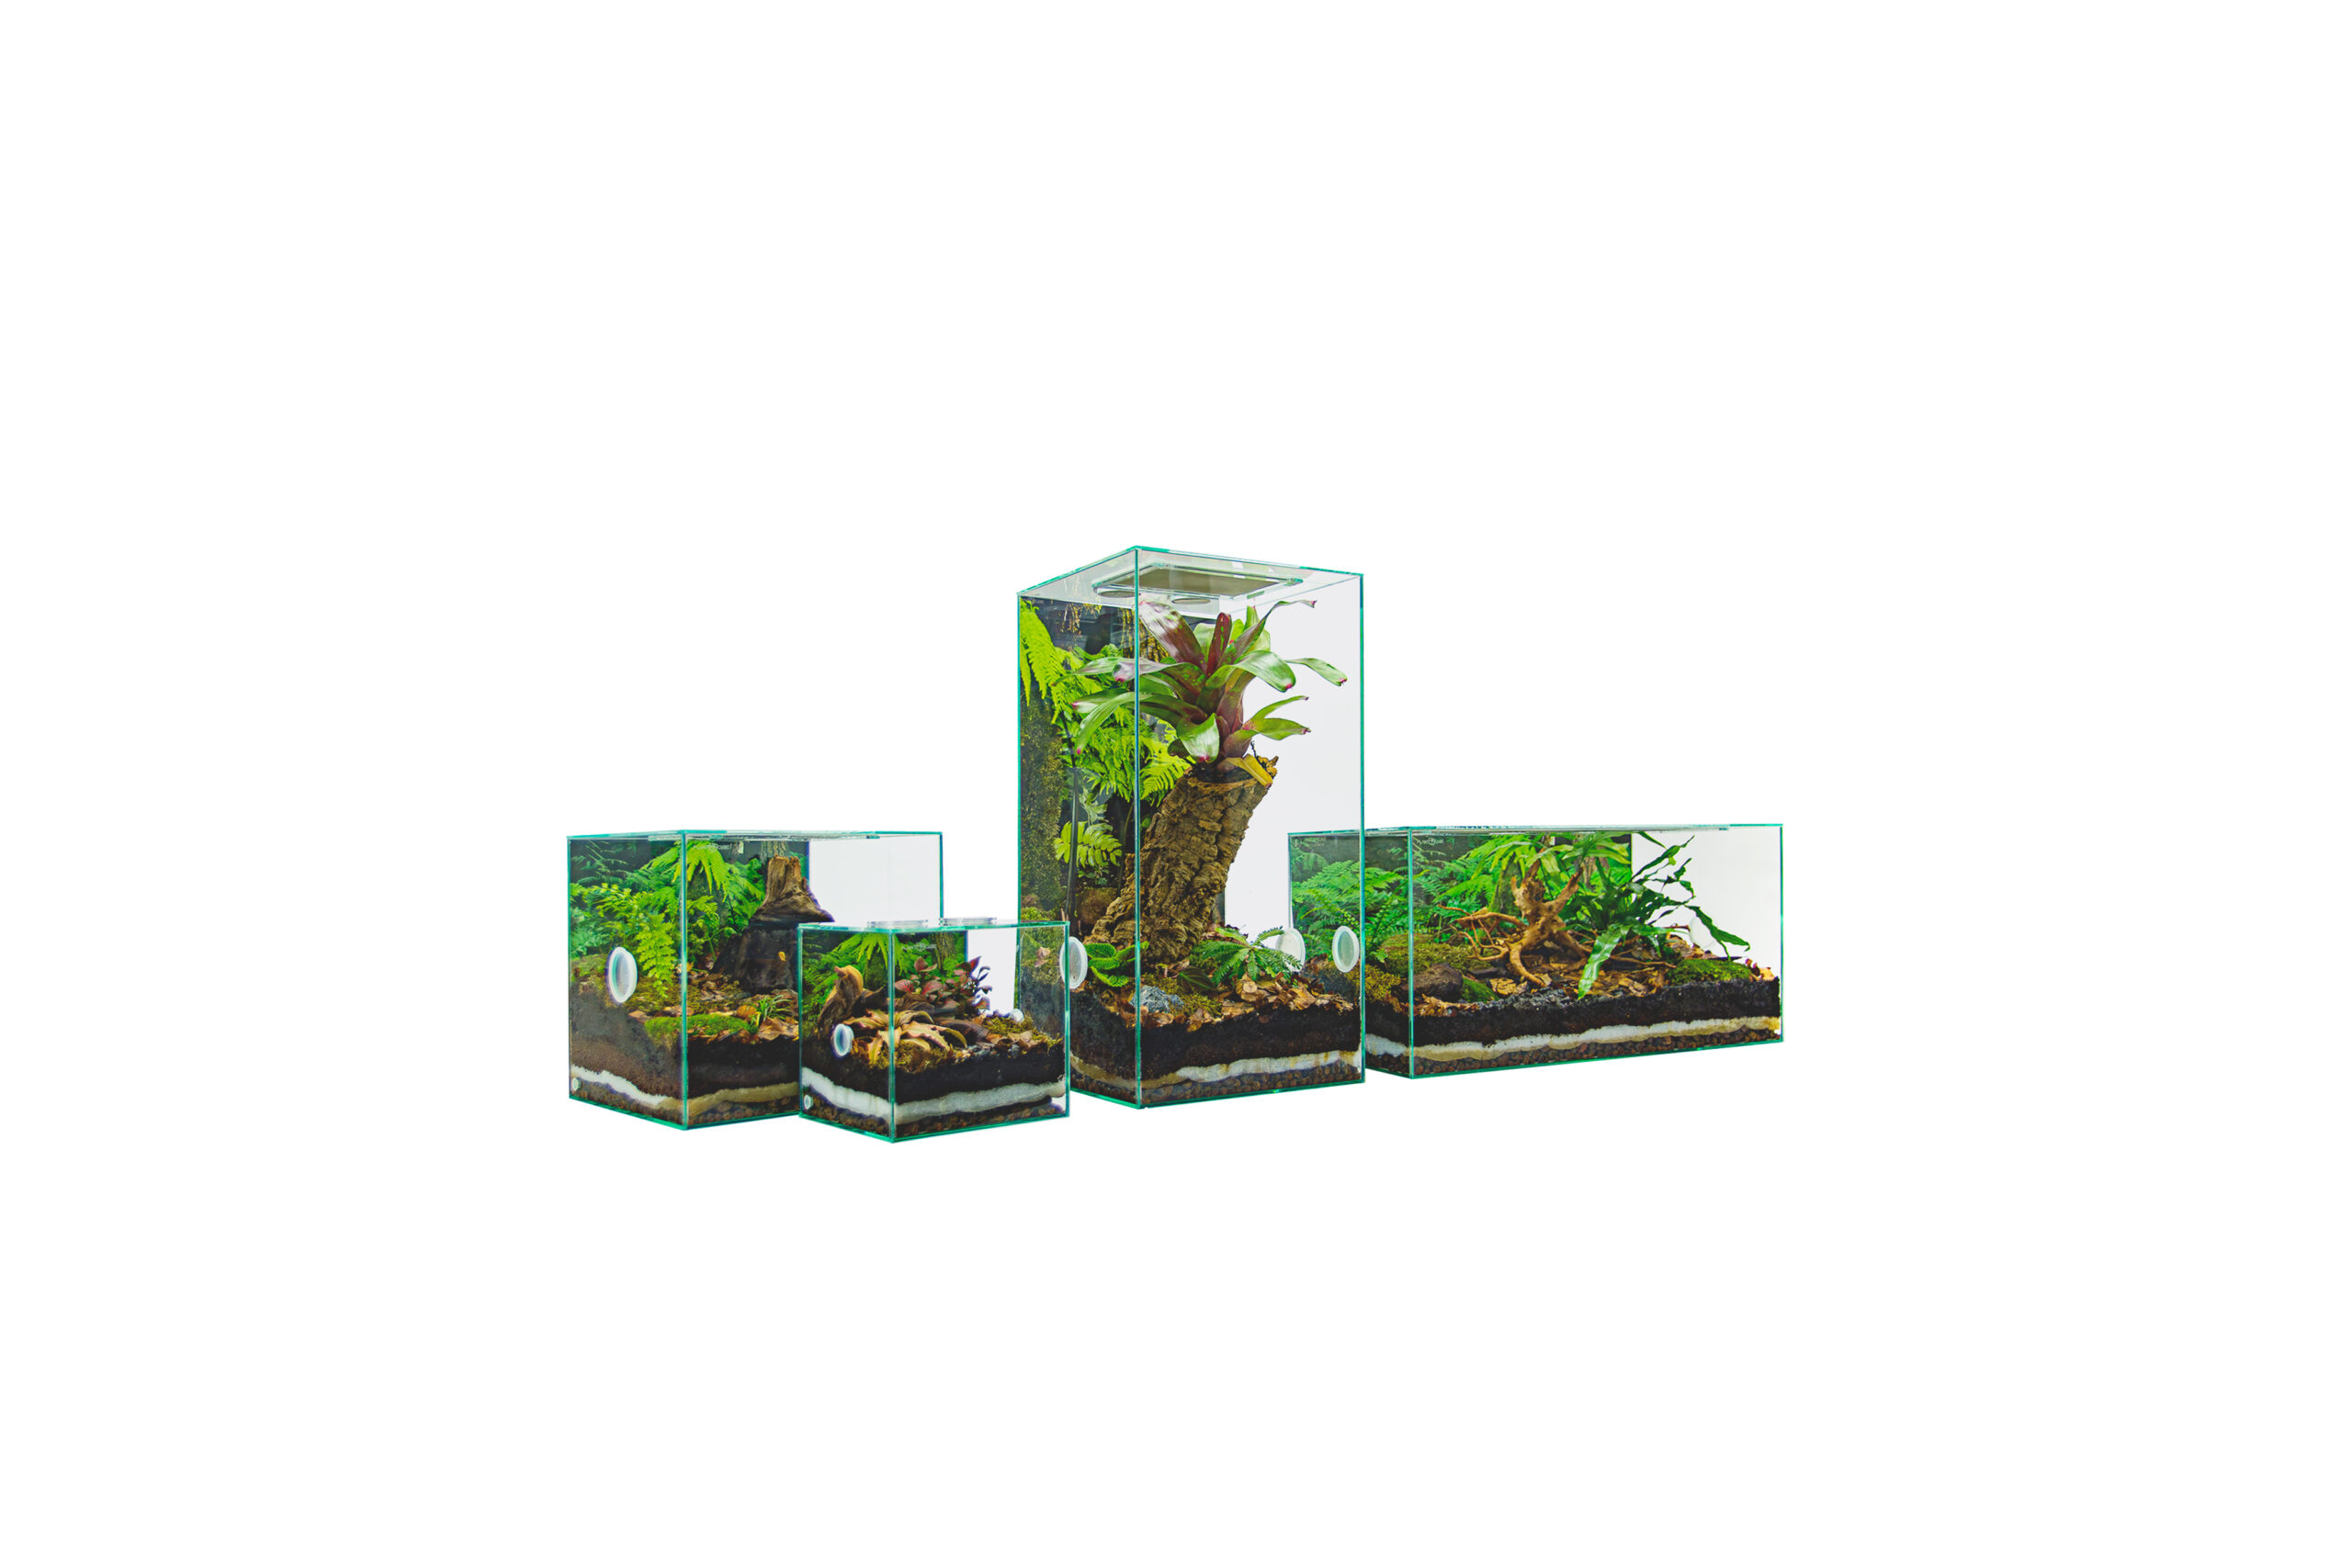
Before you begin building your bioactive setup, you’ll need to pick the correct size and type of enclosure based on your pet’s and plants needs. The vivarium’s size will depend on the species you plan to house. Most reptiles, amphibians, and invertebrates have specific requirements when it comes to space and environment, so it’s important to research your pet’s natural habitat.
Here’s a basic checklist of what you will need:
- Tank or terrarium: A PLANTCUBE is of course the only option here
- Light source: UVB lighting for reptiles or full-spectrum plant lights for plants.
- Heat source: A heat mat or lamp to regulate temperature.
- Thermometer and hygrometer: To monitor temperature and humidity.
- Water source: A misting system, spray bottle, or automated fogger.
Make sure the enclosure has good ventilation but retains enough moisture for the plants and animals that require higher humidity.
Get your PLANTCUBE now:
New innovatve Products
New innovatve Products
New innovatve Products
New innovatve Products
PLANTCUBE Vivariums
PLANTCUBE Vivariums
New innovatve Products
PLANTCUBE Vivariums
PLANTCUBE Vivariums
Step 2: Layer the Vivarium Substrate
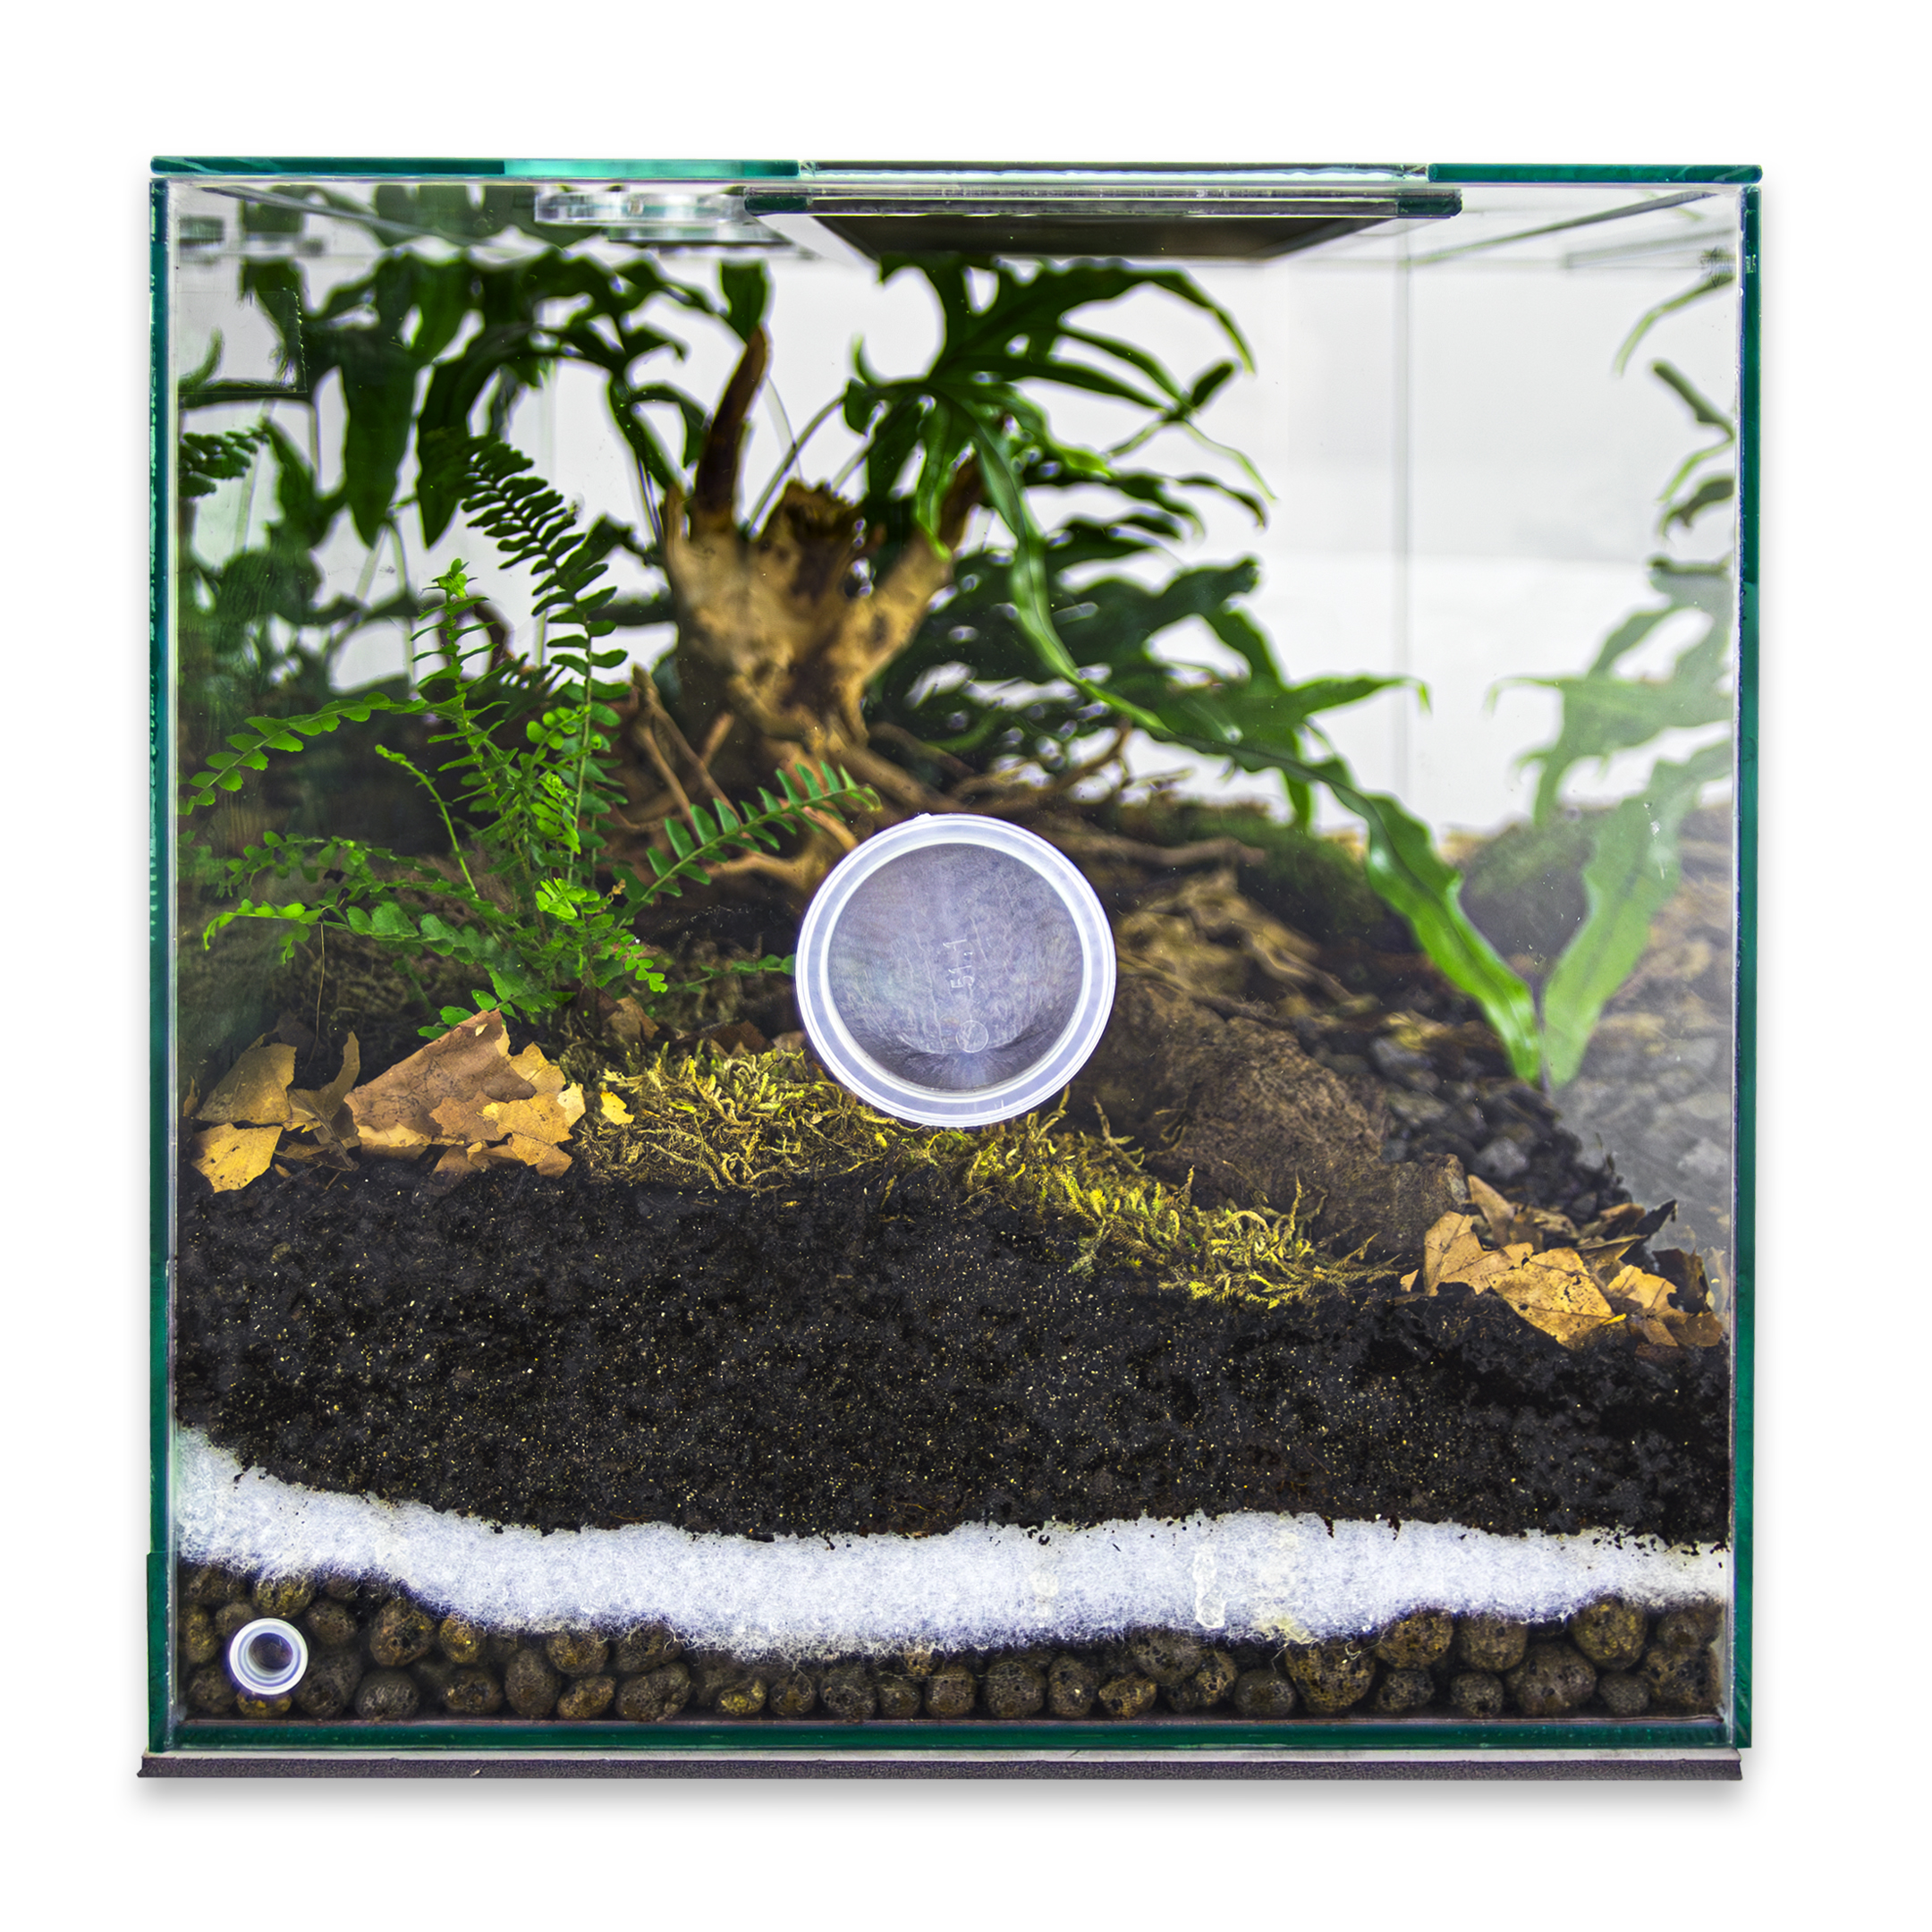
A bioactive vivarium needs a well-structured substrate that mimics natural soil layers. This is important for plant growth, moisture retention, and providing hiding and breeding spots for your cleanup crew. You will usually use three main layers:
Drainage Layer
The drainage layer prevents water from sitting in the substrate and causing root rot in plants which could kill them. Common materials for the drainage layer include:
- Hydroballs (expanded clay balls)
- Lava rock
- Gravel
Place a barrier (such as fleece, a fine mesh or landscape fabric) on top of the drainage layer to prevent the substrate from mixing into it.
Substrate Layer
The next layer is a nutrient-rich, plant-friendly substrate where your plants will grow their roots in. You can use:
- A mix of organic soil and coco fiber
- Specially formulated bioactive substrate mixes
- Usually plant stores offer matching substrates for your plants
- Add some charcoal in your soil which helps microbes to colonize it
The substrate should be deep enough for plant roots to anchor and for burrowing animals to dig. We recommend to use at least 10-15cm of substrate.
You can also keep the soil flatter at the front and let it rise towards the back. This also creates a more natural look and adds depth to the vivarium. You will also want to plant larger plants, which often have deeper roots, at the back so that you have a clear view at the front.
Leaf Litter and Moss
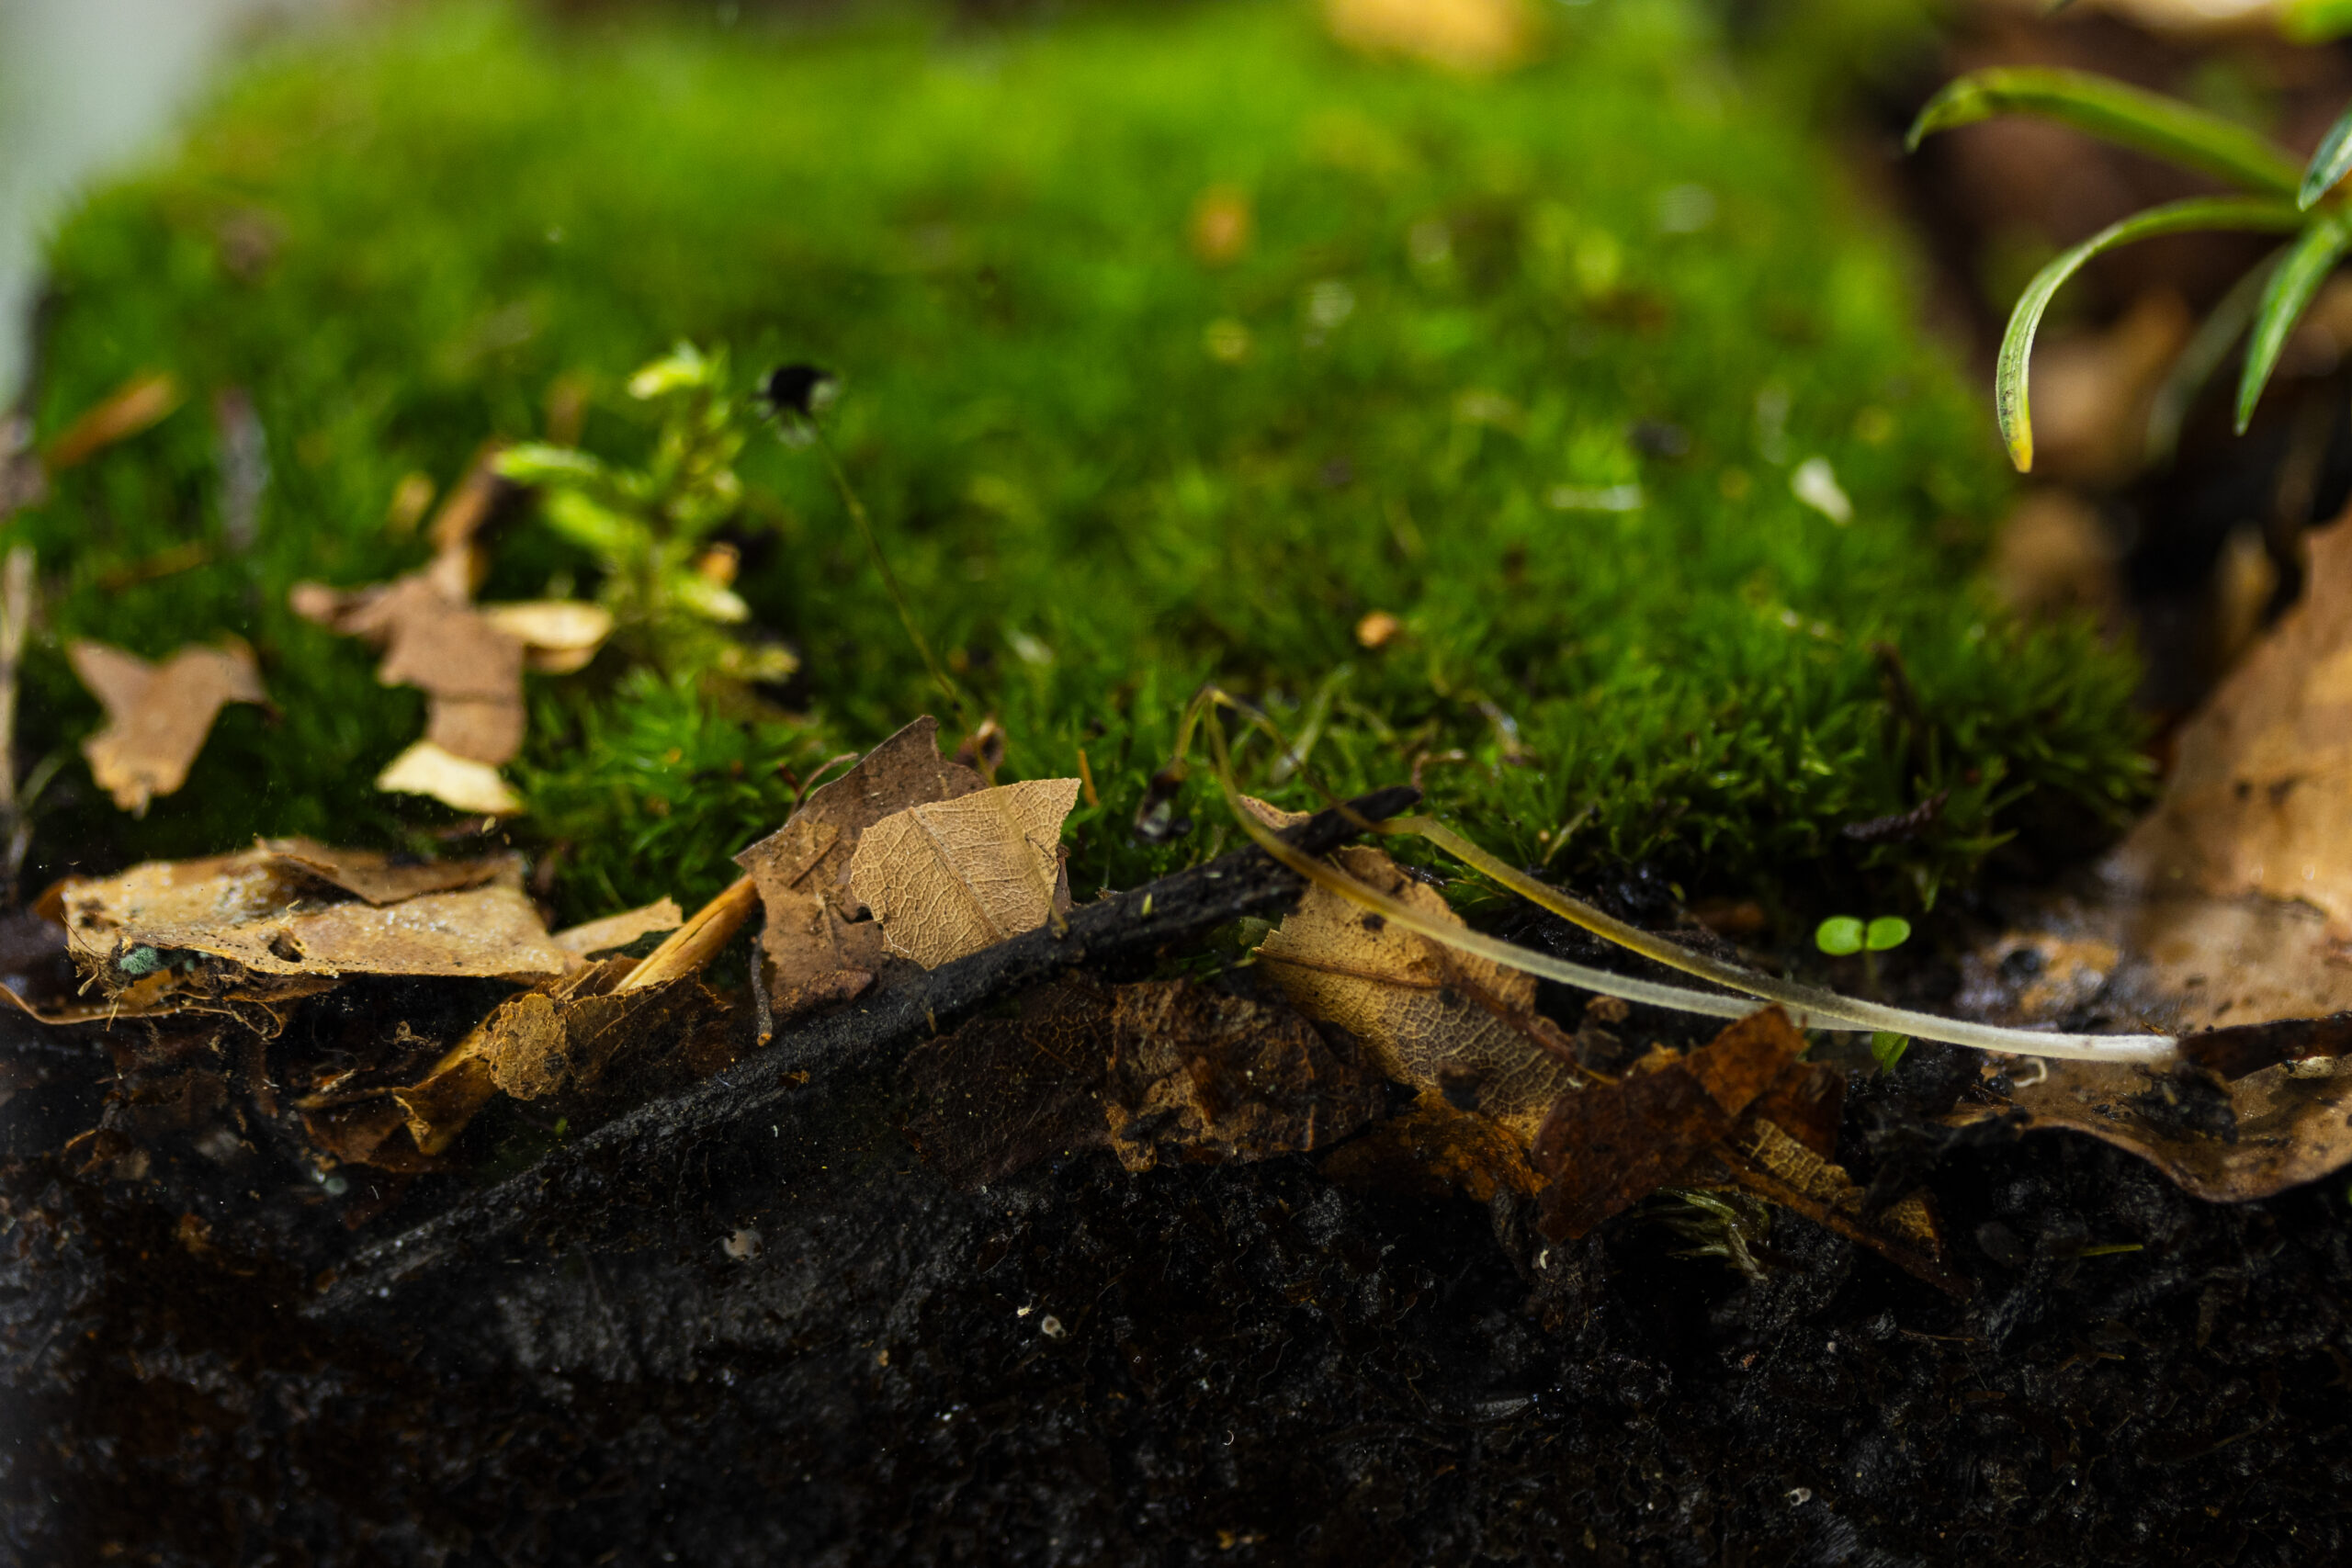
A top layer of leaf litter mimics a forest floor and helps retain moisture. It also serves as food for the cleanup crew. We recommend you to do this after you have added all plants. You can use:
- Dried leaves as Oak or magnolia leaves (pesticide-free)
- Sphagnum moss, Java moss or pillow moss usually do quite well
Step 3: Add Plants to Your Vivarium
Now it’s time to add live plants, which will enhance the aesthetic, provide hiding spots, and improve air quality by absorbing carbon dioxide and releasing oxygen.
When selecting plants, make sure they are safe for your pet and can tolerate the temperature, humidity, and light levels in the enclosure. Some great options include:
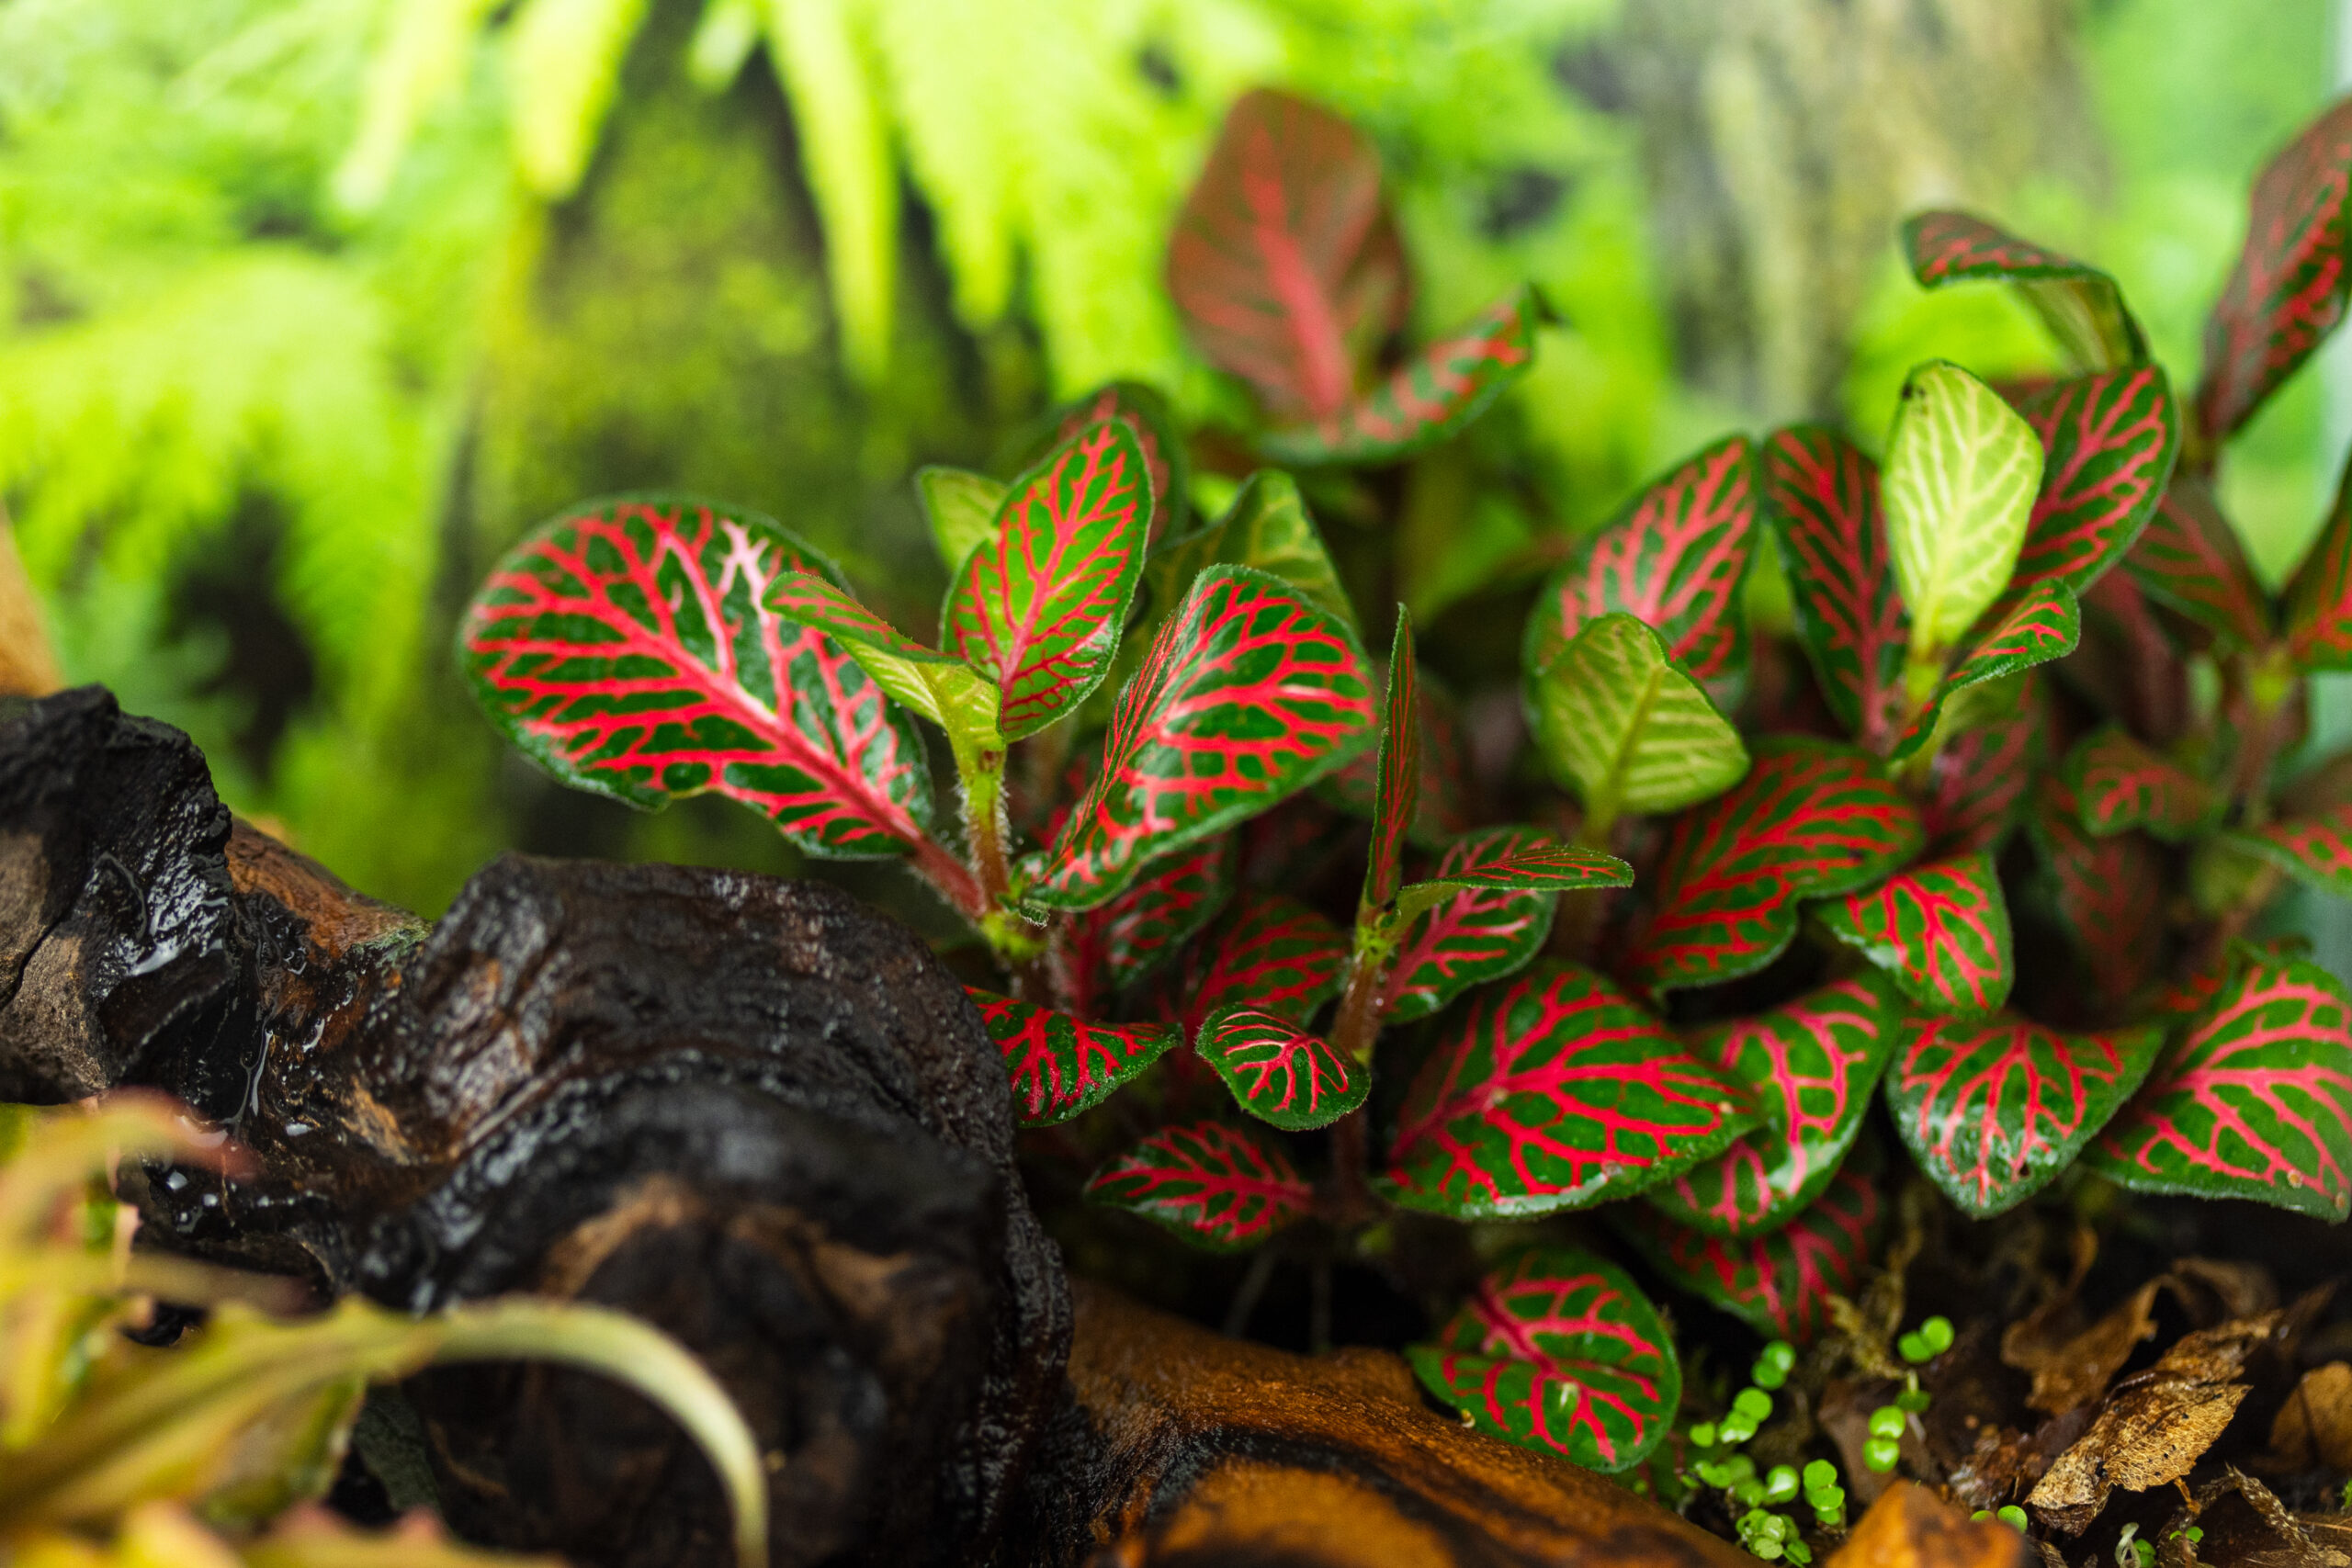
For high humidity setups:
- Tropical plants like ferns, pothos, bromeliads, or orchids
- Colourful Fittonias or Begonias are an eye-catcher
- Mosses such as Java moss or sphagnum moss
For drier, desert vivariums:
- Succulents like aloe vera, haworthia, or jade plants
- Drought-resistant grasses or cacti
Plant your selections into the substrate, arranging them in clusters for a natural look. Taller plants or climbing plants should go toward the back, while shorter ground cover plants can go in the front.
Tip: Adding epiphytes (air plants) that can be mounted on driftwood or rocks creates vertical interest without taking up much floor space.
Step 4: Introduce the Cleanup Crew
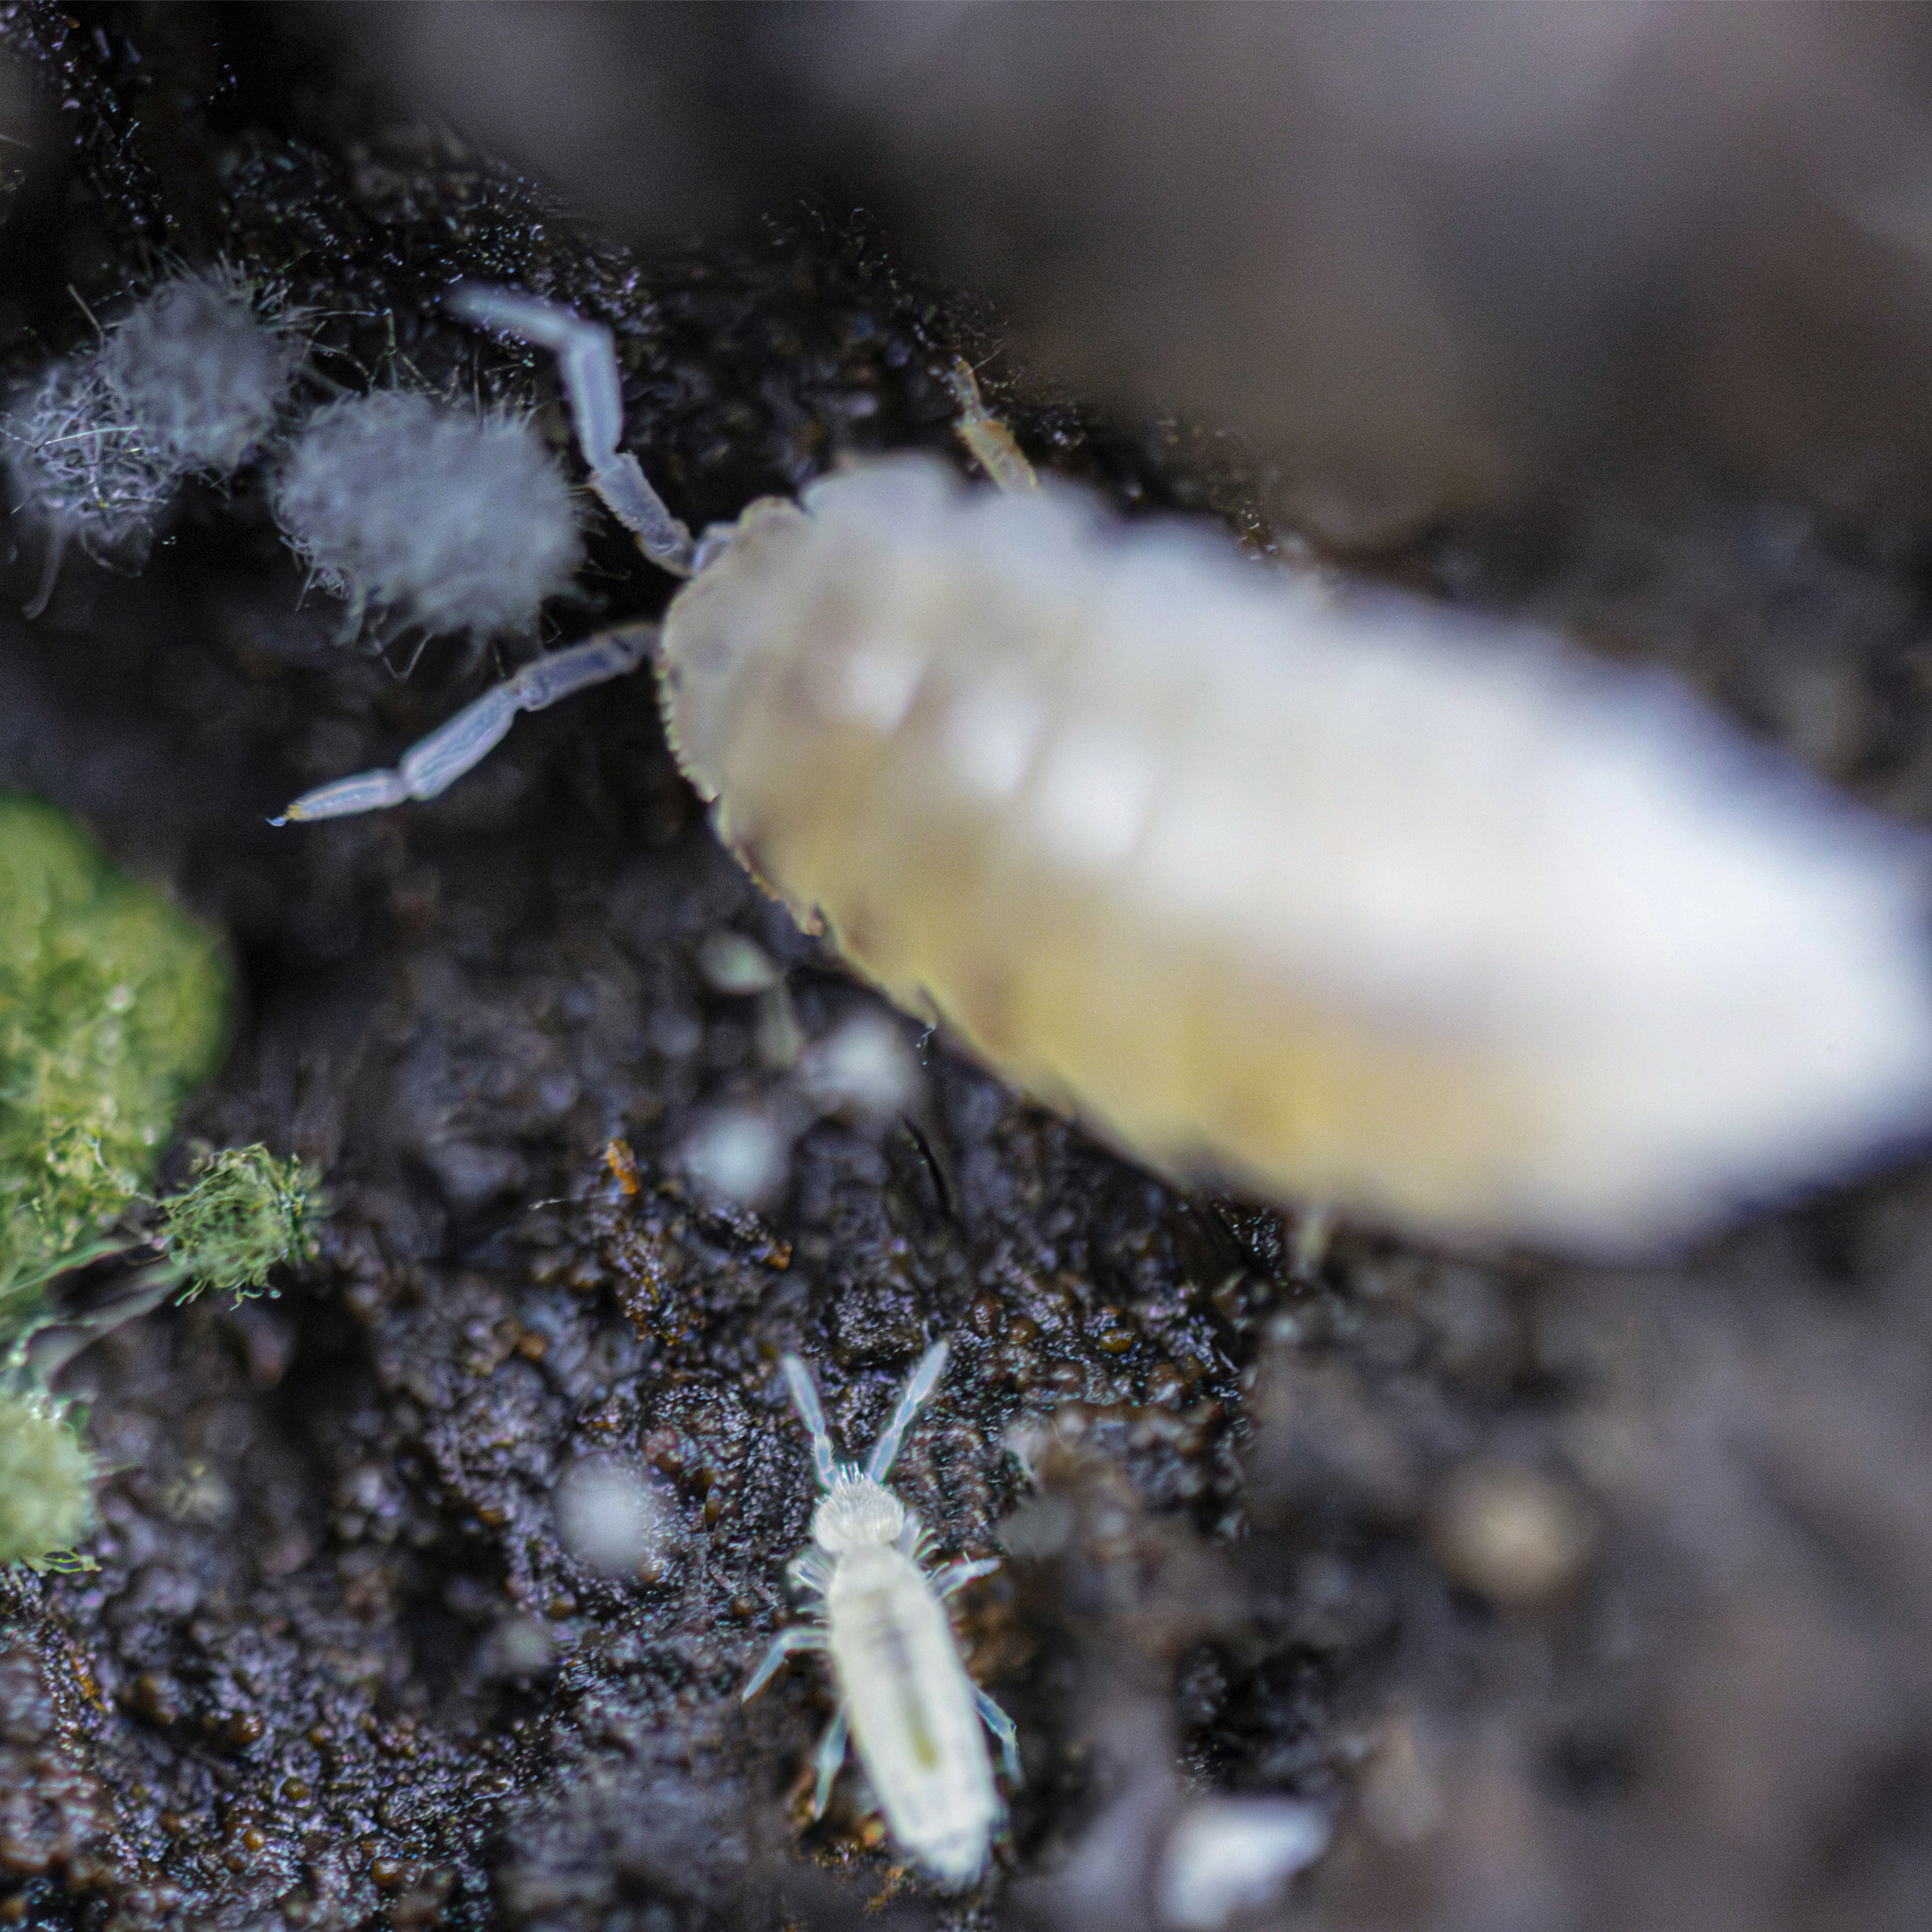
A crucial part of a bioactive vivarium is the cleanup crew—tiny creatures that break down organic waste like animal droppings, shed skin, and decaying plant matter and break them down into nutrients for your plants. These organisms help keep your enclosure clean and free from harmful bacteria or mold. Popular choices include:
Springtails: Tiny insects that break down mold and organic waste.
Isopods (e.g., dwarf white, powder blue): These pill-bug-like creatures feed on decomposing matter.
Earthworms: In larger vivariums, worms can help aerate the soil and break down waste.
You can purchase these on the internet and introduce them into the vivarium after the plants are established. The cleanup crew will help maintain a balanced ecosystem by converting waste into nutrients for the plants. They also look kind of cute.
Step 5: Maintain Proper Lighting, Temperature, and Humidity
To ensure the success of your bioactive vivarium, you need to monitor and adjust the environmental conditions to meet your pet’s needs.
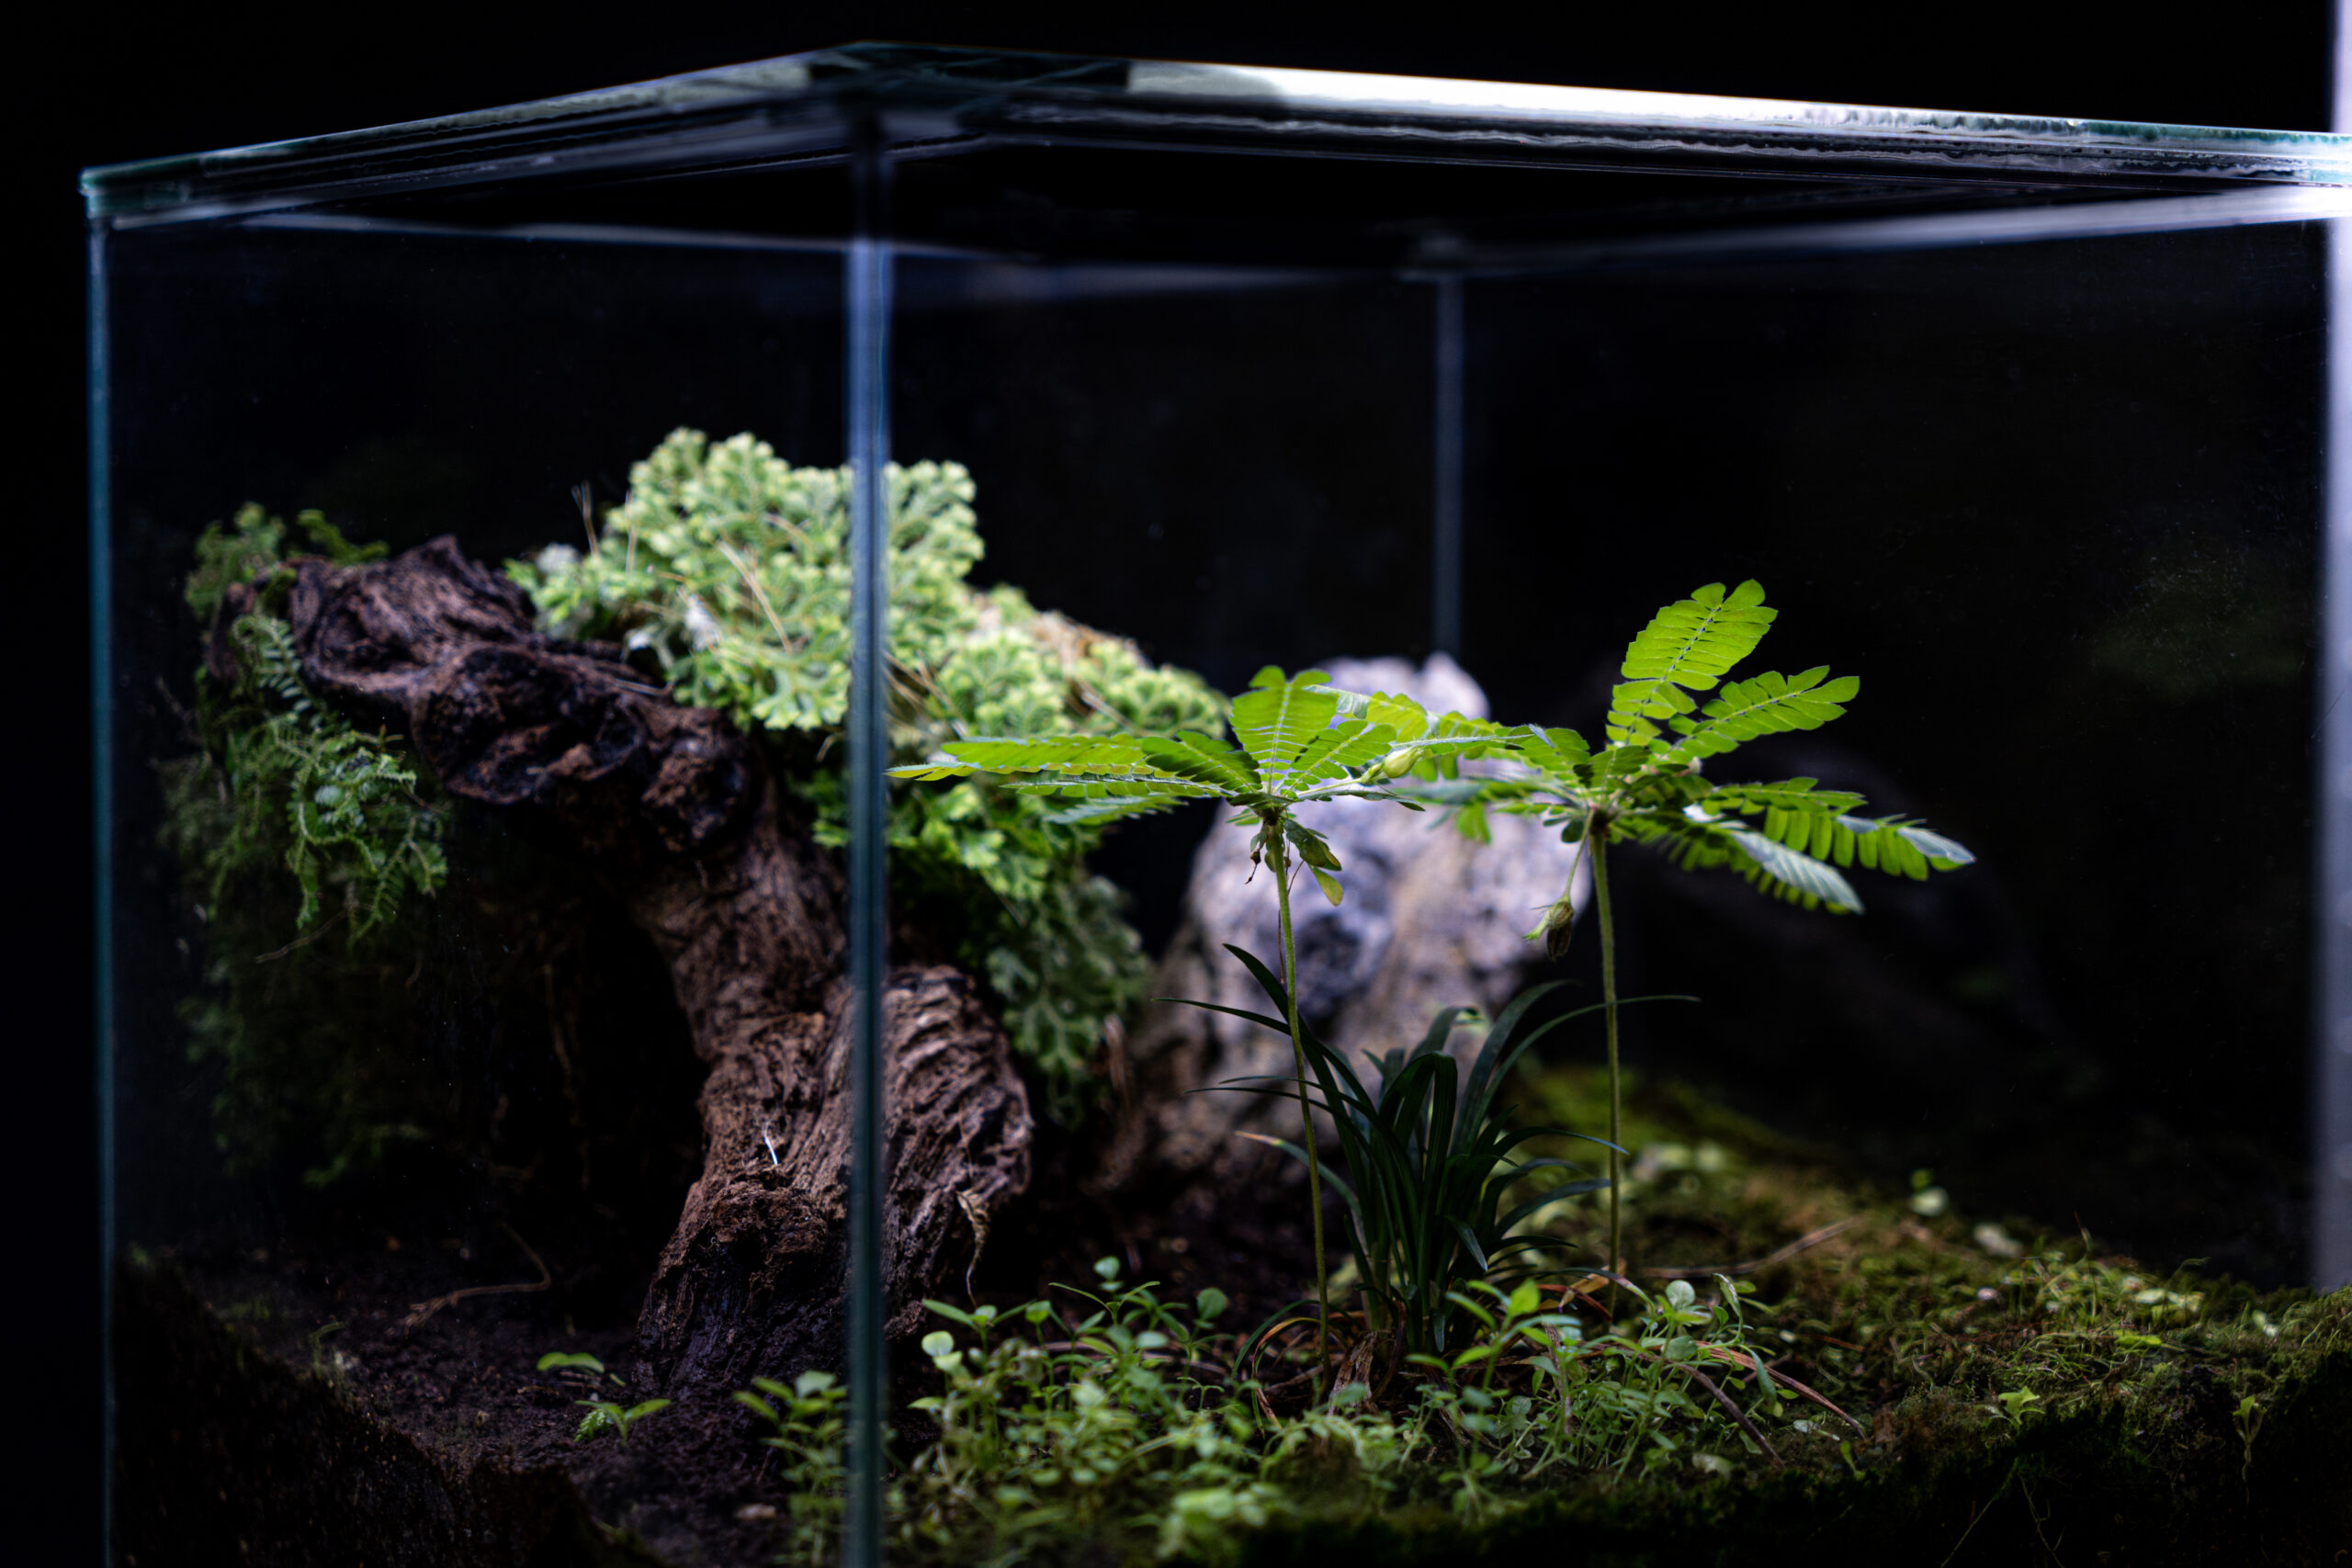
Lighting: If you have reptiles that require UVB, a UVB bulb is essential. If your main focus is on plant growth, choose a full-spectrum light for plant health.
Heating: Use heat lamps, ceramic heaters, or heating mats to provide the right temperature gradient for your animal.
Humidity: Different setups require different humidity levels. For a tropical vivarium, maintain a higher humidity by misting regularly or using an automatic fogger. For drier environments, be careful not to over-mist.
Make sure you have a thermometer and hygrometer to regularly check that everything is within the appropriate range for both the plants and the animals.
Step 6: Add Decor and Hides
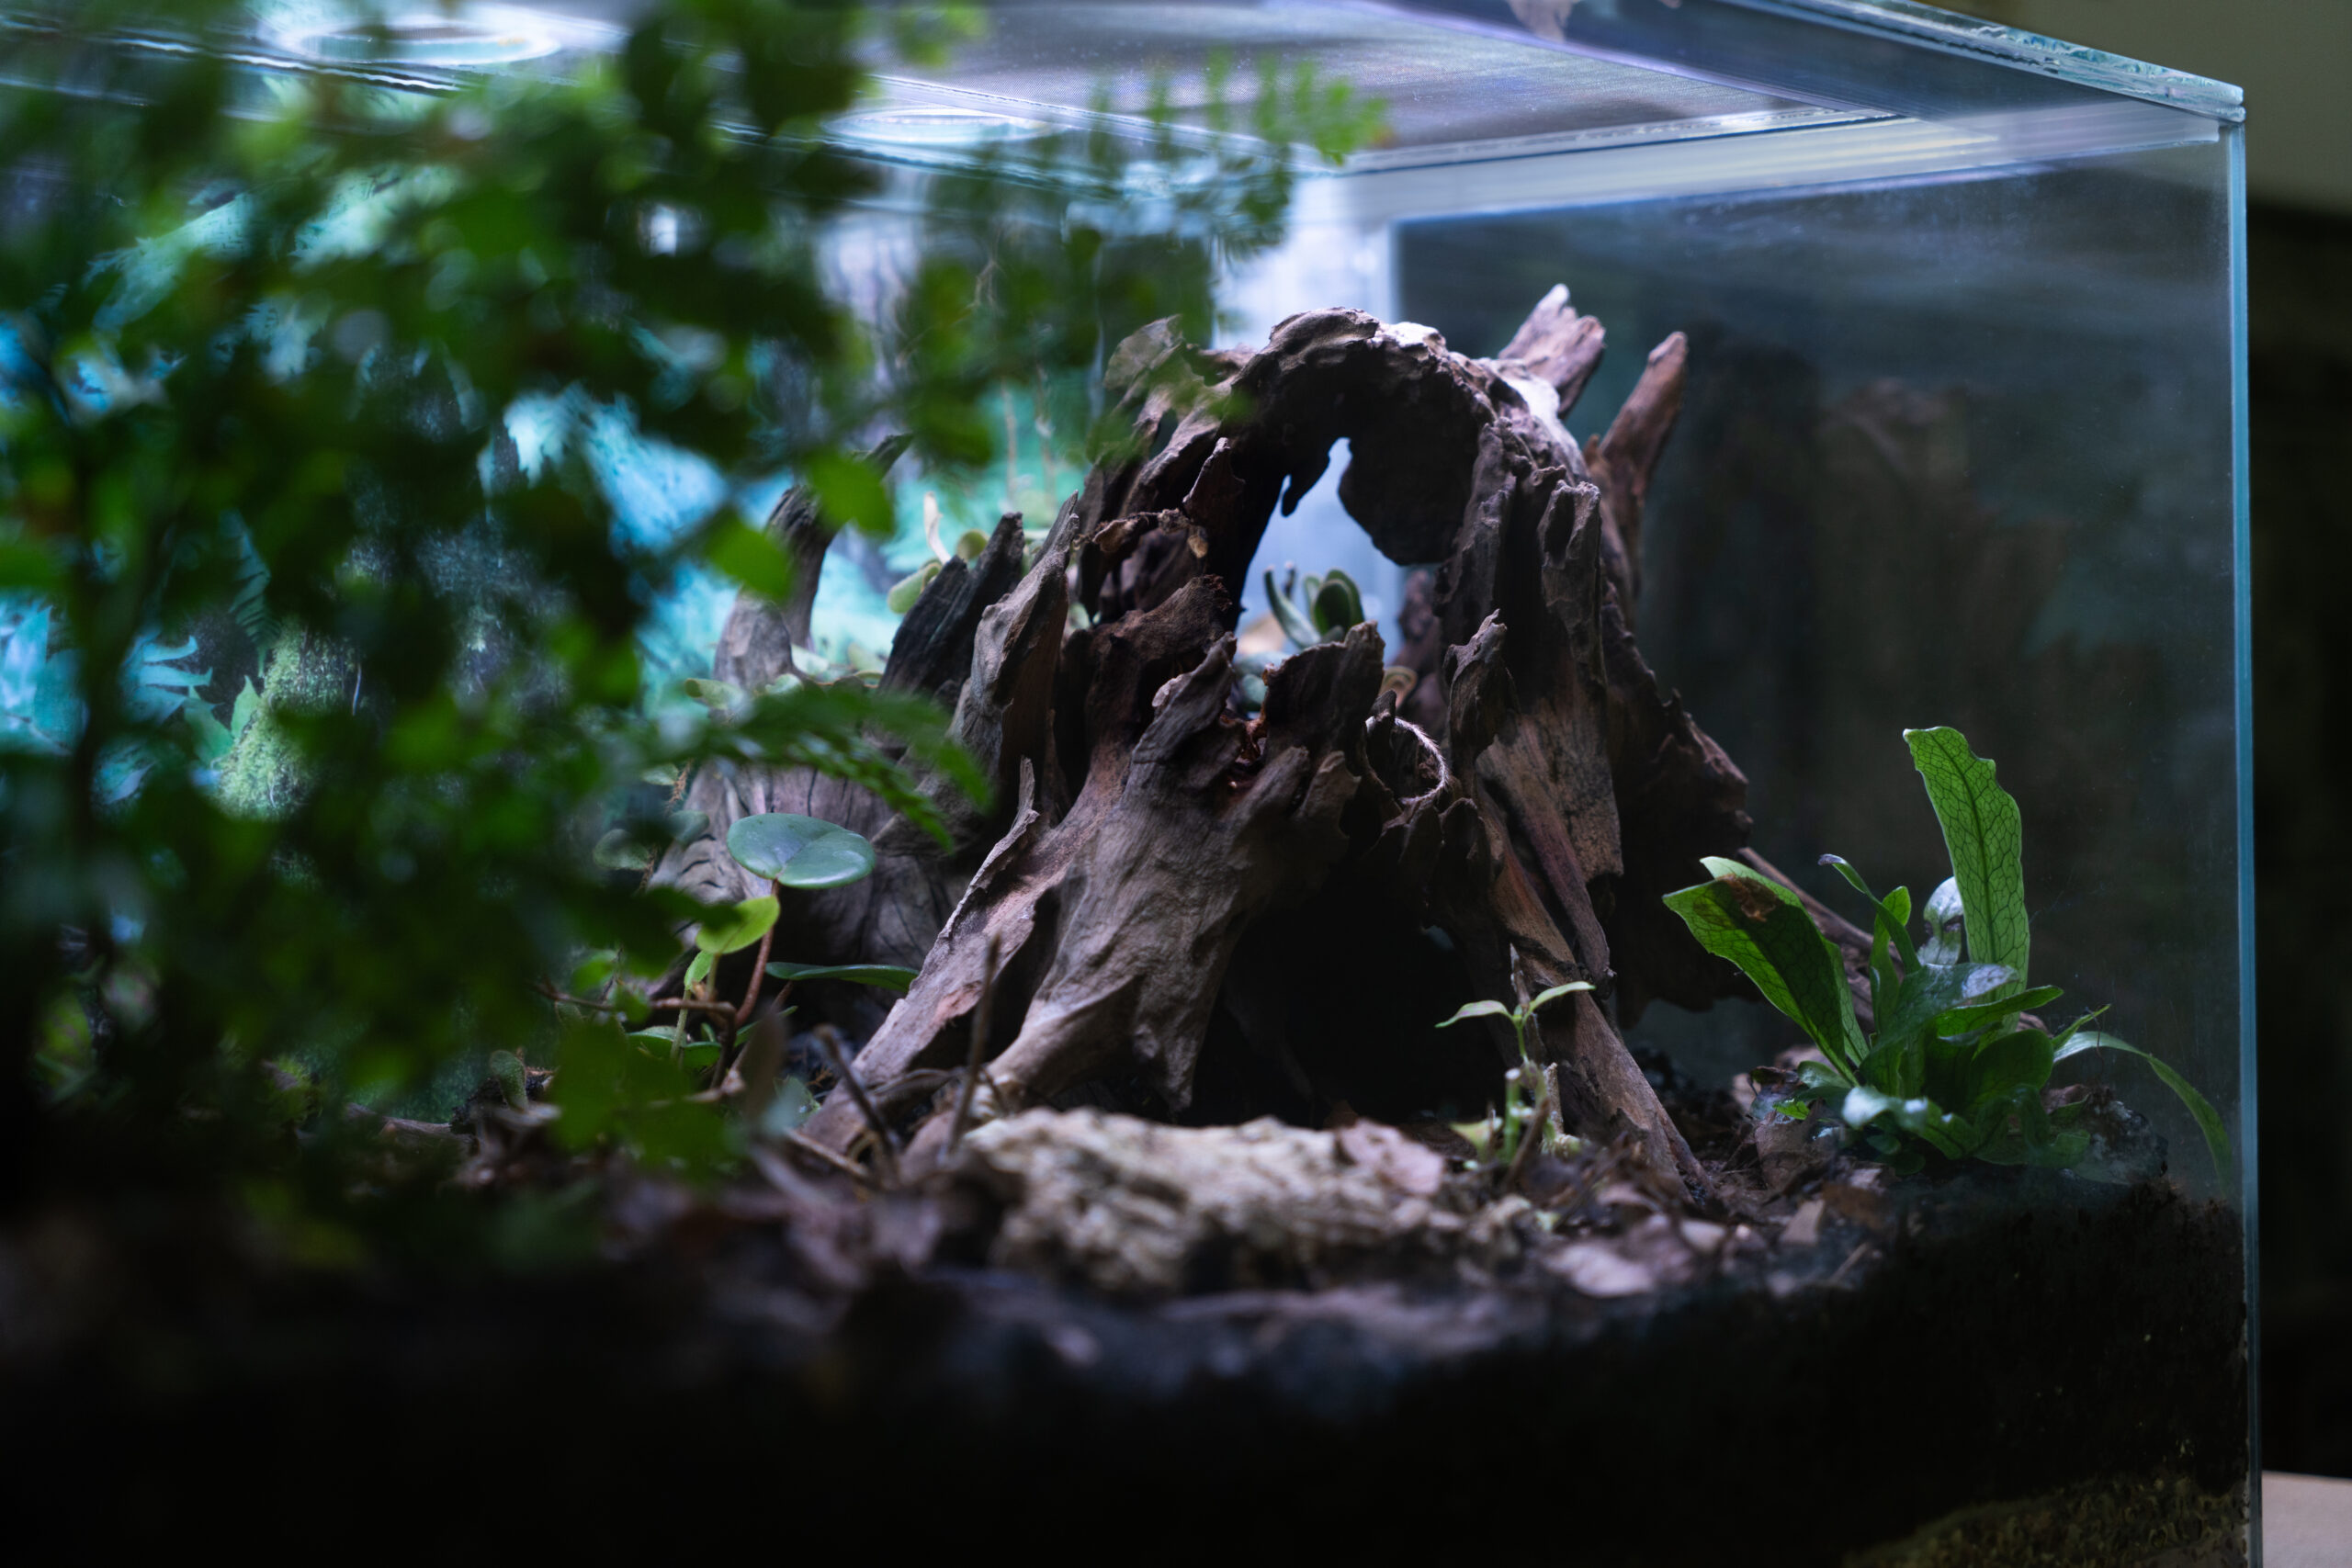
In addition to plants, adding natural decor such as rocks, driftwood, and branches can help replicate the look and feel of a wild environment. These elements provide climbing opportunities, hiding spots, and basking areas for your pet.
For reptiles, create hides using pieces of bark, hollow logs, or small caves. For amphibians, ensure there are moist areas like small water dishes or areas covered in moss where they can burrow or stay cool.
Step 7: Introduce Your Animal
Once your vivarium has been set up, it’s essential to give it time to settle before introducing your pet. Allow at least 2–4 weeks for the plants to root and for the bioactive system (including the cleanup crew) to establish itself.
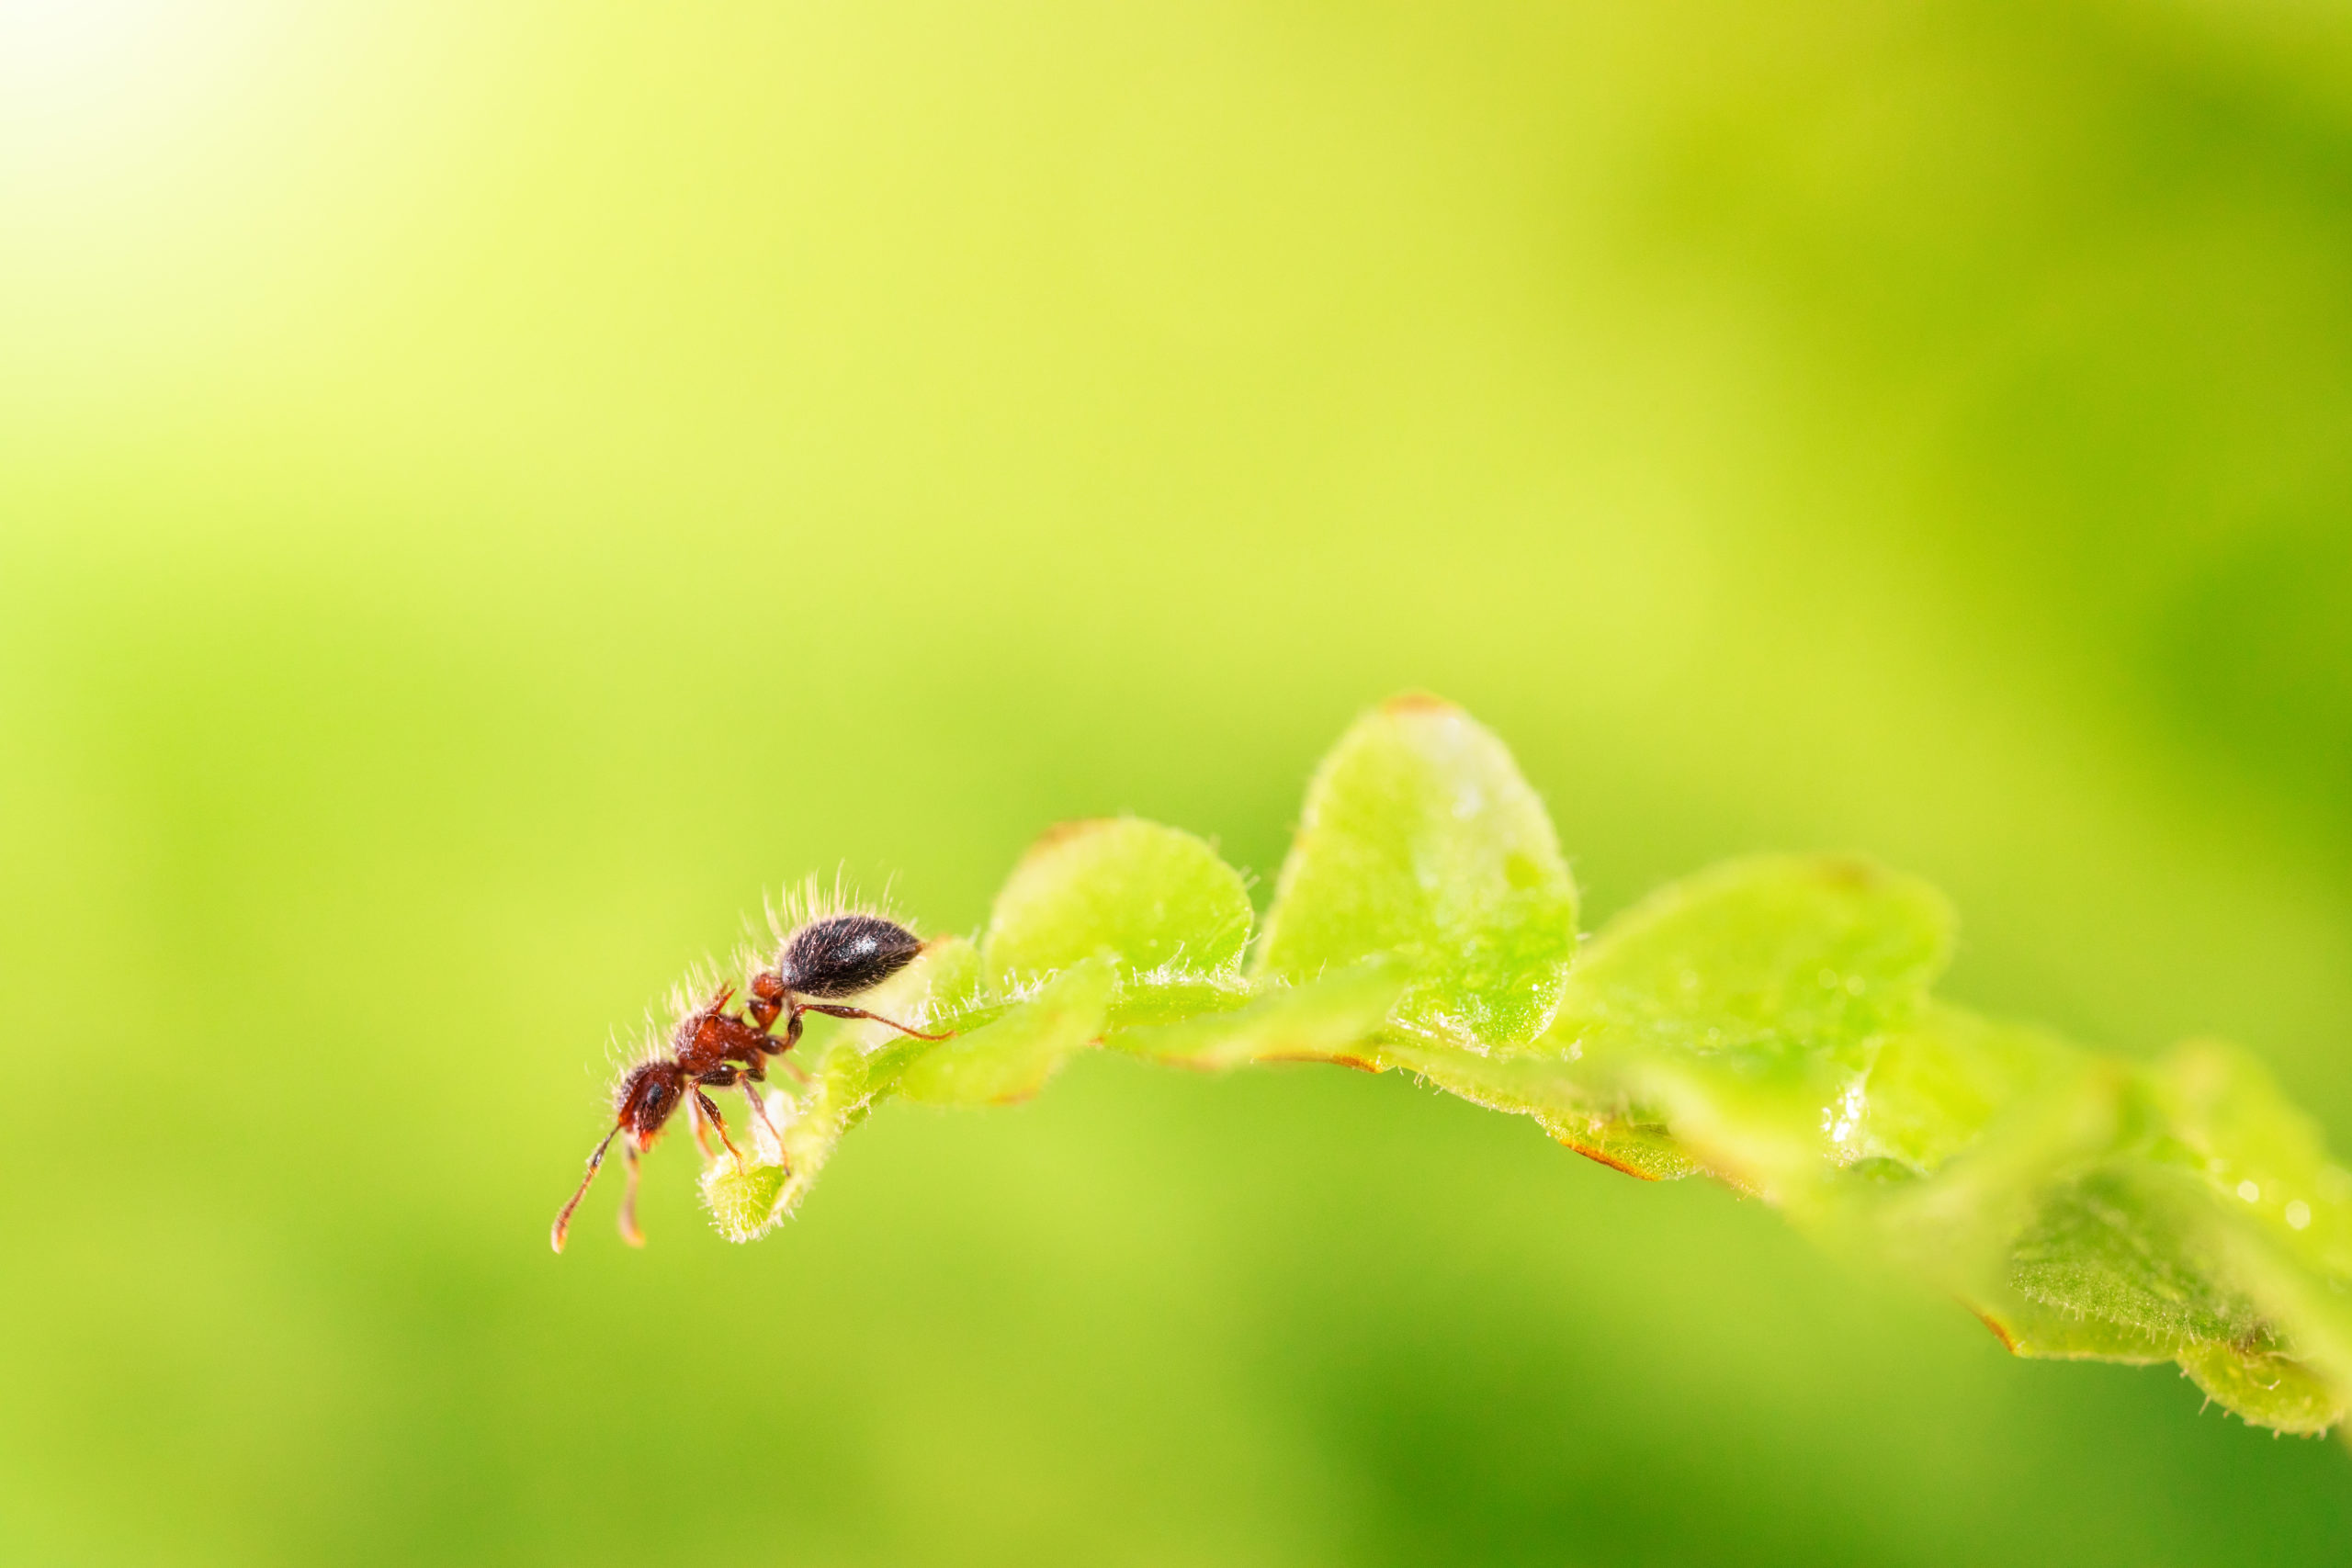
Monitor the environment during this period to ensure that temperatures, humidity, and overall conditions are stable. Once everything is balanced, your pet can be safely introduced to their new home.
Step 8: Ongoing Maintenance and Care
Although a bioactive vivarium requires less maintenance than a traditional setup, some upkeep is still necessary to keep everything thriving:
Spot clean waste: While the cleanup crew will handle most of the waste, large droppings or uneaten food should be removed.
Prune plants: Trim back overgrown plants as needed.
Monitor humidity and temperature: Adjust misting and heating as necessary based on your environment.
Feed the cleanup crew: Occasionally add leaf litter or small amounts of food like fish flakes to keep the cleanup crew healthy.
With proper care, your planted bioactive vivarium will flourish and provide a beautiful, natural environment for both your pet and the ecosystem within.
Enjoy your Vivarium and let Nature do it’s Job!
Creating a bioactive vivarium is a rewarding project that allows you to build a self-sustaining environment for your pet. Not only does it provide a natural habitat, but it also reduces the need for frequent cleaning and waste removal. By following the steps in this guide, you’ll be well on your way to enjoying a thriving, low-maintenance vivarium that benefits both plants and animals alike.
Start your journey into bioactive ecosystems and watch as your vivarium grows into a living, breathing masterpiece!


